Konfiguracja
Aby rozpocząć instalację, uruchom Veyon Konfigurator, jeśli nie zostało to zrobione automatycznie po instalacji. Za pomocą tego programu można skonfigurować i dostosować lokalną instalację Veyon. Graficzny interfejs użytkownika jest podzielony na różne części związane z tematem lub komponentem. W zależności od zainstalowanych wtyczek mogą istnieć dodatkowe strony konfiguracji.
W: ref: ConfigurationReference opisano wszystkie strony konfiguracji i opcje konfiguracji wraz z ich indywidualnymi definicjami i możliwymi wartościami konfiguracji.
Przegląd
Podstawowe ustawienia na stronie konfiguracji: ref: RefGeneral dotyczą wszystkich: ref:` components`. Należą do nich ustawienia: ref: RefUserInterface,: ref:` RefLogging`,: ref: RefAuthentication, a także: ref:` RefNetworkObjectDirectory`, który przechowuje lokalizacje i komputery wyświetlane w Veyon Master.
Ustawienia na stronie konfiguracji: ref: RefService wpływają na funkcjonalność usługi Veyon i służą do dostrajania i adaptacji w celu wdrożenia specjalnych scenariuszy aplikacji. Aby zapewnić płynną pracę, ustawień domyślnych zwykle nie należy zmieniać.
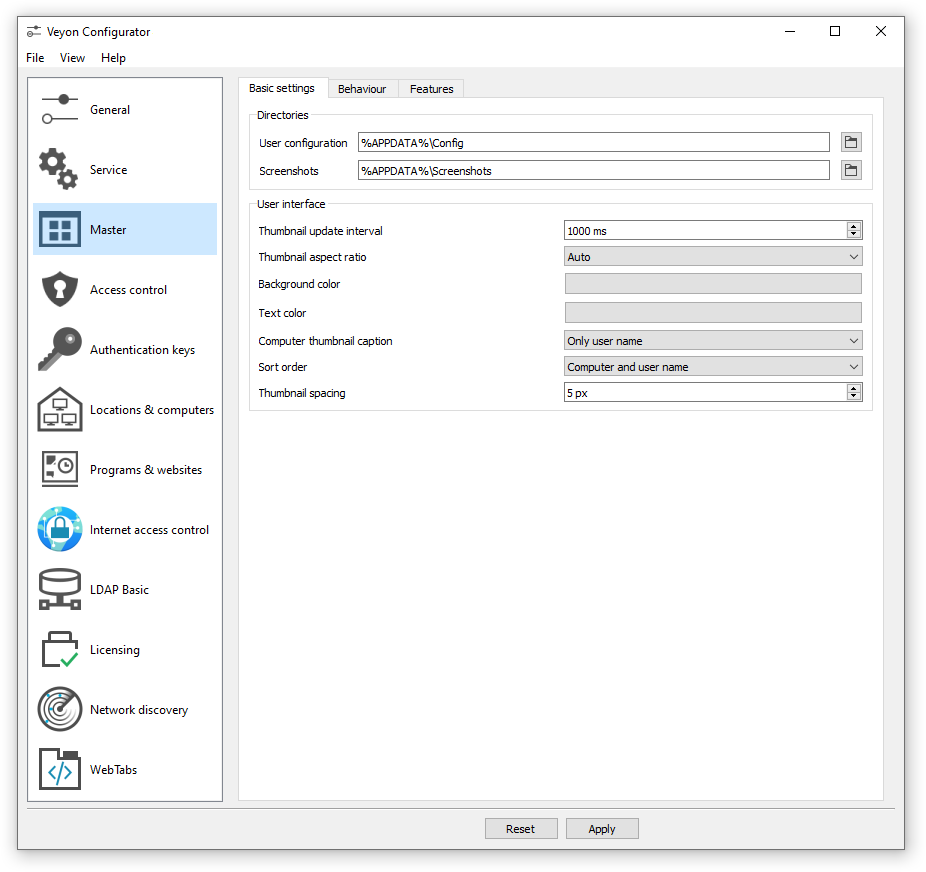
Wszystkie ustawienia na stronie konfiguracji: ref: RefMaster wpływają tylko na zachowanie i funkcje aplikacji Veyon Master i obowiązują w całym systemie dla wszystkich użytkowników.
Podpowiedź
Aby szybko rozpocząć poznawanie oprogramowania, wystarczy dodać lokalizację i poszczególne komputery na stronie konfiguracji: patrz: ConfLocationsAndComputers. Po skonfigurowaniu: ref: `exported to all computers<ConfImportExport> ` aplikacja Veyon Master może już zostać uruchomiona i użyta. Należy upewnić się, że użytkownik użyty przy logowaniu istnieje z tym samym hasłem na wszystkich komputerach.
Uwierzytelnienie
Aby uzyskać dostęp do komputera z usługą Veyon, użytkownik uzyskujący dostęp musi najpierw się uwierzytelnić, tj. musi udowodnić swoją tożsamość i autoryzację użytkowania. W przeciwnym razie możliwy byłby nieograniczony dostęp dowolnego użytkownika do dowolnego komputera z uruchomioną usługą Veyon. Dostęp bez uwierzytelnienia nie jest obsługiwany. Konfiguracja odbywa się za pośrednictwem strony konfiguracji: ref: RefGeneral w sekcji: ref:` RefAuthentication` w Veyon Konfigurator.
Metody uwierzytelniania
Zasadniczo Veyon oferuje dwie różne metody uwierzytelniania: uwierzytelnianie plikiem klucza i uwierzytelnianie logowania.
Key file authentication jest oparte na kryptografii klucza publicznego <https://en.wikipedia.org/wiki/Public-key_cryptography> _, co oznacza, że używany jest klucz publiczny i powiązany klucz prywatny. Tylko niektórzy użytkownicy mogą mieć dostęp do klucza prywatnego. Przy każdym żądaniu połączenia usługa Veyon wysyła losową sekwencję znaków do Veyon Master, którą Veyon Master musi podpisać kryptograficznie przy użyciu klucza prywatnego. Podpis jest odsyłany do usługi Veyon i weryfikowany za pomocą odpowiedniego klucza publicznego. Weryfikacja powiedzie się tylko wtedy, gdy podpis został wygenerowany przy użyciu odpowiedniego klucza prywatnego. W ten sposób zagwarantowana jest autentyczność odpowiednika. Jeśli weryfikacja podpisu nie powiedzie się, połączenie zostanie zamknięte.
With logon authentication Veyon Master encrypts the username and password of the accessing user (e.g. teacher) and sends this data to the Veyon Service on the remote computer. The Veyon Service then initiates an internal user login on the local system using the decrypted credentials. If successful, the username and password are correct and the authenticity of the counterpart is ensured. If the login fails, the connection is closed. This method requires identical user accounts to exist on all computers. Therefore, the use of this method only makes sense in conjunction with a central (user) directory service such as ActiveDirectory or LDAP.
Obie metody mają zalety i wady, więc wybór właściwej metody zależy od środowiska, wymagań bezpieczeństwa i potrzeb użytkownika.
Key file authentication
Zalety |
Wady |
|---|---|
|
|
Logon authentication
Zalety |
Wady |
|---|---|
|
|
Odpowiednią metodę uwierzytelnienia można wybrać i skonfigurować zgodnie z opisem w sekcji: ref: RefAuthentication w dokumentacji konfiguracji.
Zarządzanie kluczami
In order to use the key file authentication, first a key pair consisting of a public and a private key has to be created. The configuration page Klucze uwierzytelniające is available for this purpose. A new key pair is generated via the Create key pair button. A short, concise term such as teacher should be chosen as the name. Then an access group must be set for both private and public keys. Only users who are to be allowed to access computers using Veyon Master should be member of the access group set for private keys. The public key should be assigned to a global access group so that the key is readable for all users and the operating system.
Once key file authentication is set up and working with one client computer, the keys can also be transferred to a shared network drive and the Lokalizacja plików kluczy can be changed accordingly. On the client computers only the Veyon configuration has to be imported, while the key files do not have to be imported manually.
Uwaga
Plik klucza prywatnego może być dostępny tylko dla użytkowników, którzy powinni mieć dostęp do innych komputerów. Jeśli plik jest przechowywany na dysku sieciowym, ważne jest, aby dostęp do pliku jest ograniczony przy użyciu ACL lub podobnych rozwiązań!
Kontrola dostępu
The access control module can be used to specify in detail which users may access certain computers. Access control is performed during connection initialization after a successful authentication. While authentication assures the authenticity of an accessing user, the access control functionality restricts computer access to authorized users such as teachers.
The setup is done on the Access control configuration page and is described in detail in the configuration reference as well as chapter Reguły dostępu.
Ważne
Like all other settings the access control configuration is part of the local Veyon configuration. The configuration must therefore be transferred to all other computers to work properly.
Sale i komputery
On the configuration page Locations & computers you can create the locations and computers displayed in the Veyon Master application when the Adres obiektu sieciowego backend Builtin is used. Unlike backends such as LDAP this information is stored in the local configuration and must therefore be transferred to all computers.
The configuration page consists of two lists. The left list contains all configured locations. Using the two buttons below the list, locations may be added or removed. Existing locations can be edited and renamed by double-clicking.
The list on the right contains all computers stored for the currently selected location. The two buttons below the list can be used to add or remove computers. The individual cells in the table can be edited by double-clicking them. A computer name and a hostname or IP address must be specified for each computer. To access Veyon Server instances other than the default (Multi session mode) the corresponding port numbers have to be appended, e.g. myhost.example.org:11101. In case the Wake-on-LAN feature is to be used, the corresponding MAC address must also be supplied. Otherwise this column can be left blank.
LDAP
All information about connecting Veyon to an LDAP-compatible server such as OpenLDAP or Active Directory can be found in chapter Integracja LDAP/AD.
Importowanie / eksportowanie konfiguracji
Importowanym warunkiem wstępnym korzystania z systemu Veyon jest identyczna konfiguracja na wszystkich komputerach. Przeniesienie konfiguracji systemu Veyon na inny komputer można początkowo wykonać ręcznie, ale później należy to zautomatyzować. Dla obu sposobów dostępne są różne metody.
In the Veyon Configurator you can find the entry Save settings to file in the File menu. This entry allows exporting the current configuration to a file in JSON format. This file can be imported to another computer using the entry Load settings from file in the same menu. Please note, that the settings are loaded into the user interface during the import, but are applied and saved in the system only after the Apply button has been pressed.
The Zarządzanie konfiguracją module of the Interfejs linii komend can be used to automate/script configuration import and export.
Additionally, when performing an automated installation the configuration can be imported without requiring any further user interaction. In the example section an example is given for the installer parameter /ApplyConfig.
Resetuj konfigurację
In some error situations it may be advisable to completely reset the Veyon configuration and then restart with the default values. For this purpose you can use the entry Reset configuration in the File menu in the Veyon Configurator.
Alternatively the configuration can also be reset using the Zarządzanie konfiguracją module of the Interfejs linii komend.
Furthermore the saved configuration can be reset on operating system level. On Linux the file /etc/xdg/Veyon Solutions/Veyon.conf has to be deleted, while on Windows the registry key HKLM\Software\Veyon Solutions and all of its subkeys have to be deleted.